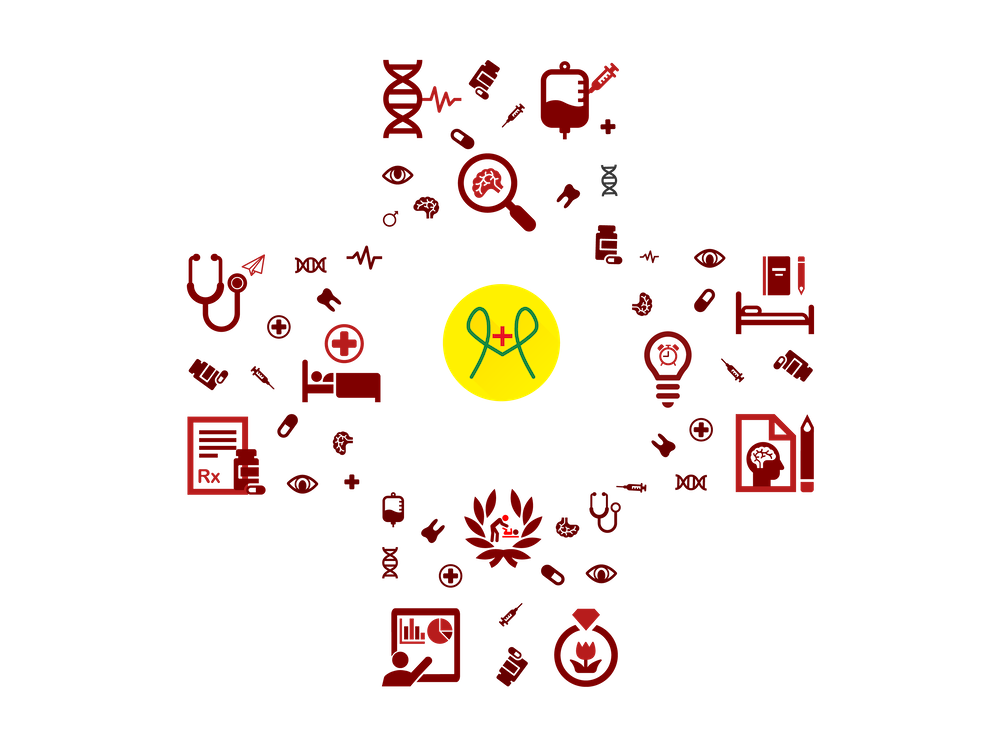
Digitize
Healthcare
with

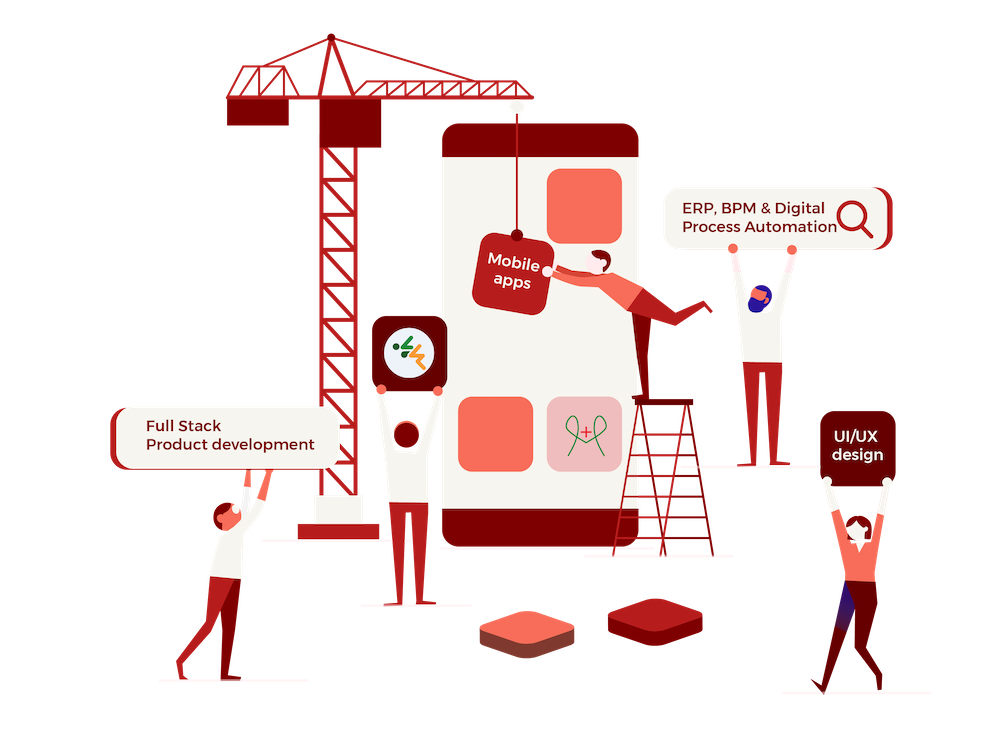
Technicise Software & Technologies Pvt Ltd is a Healthcare Technology company specialized in Healthcare Platform development, Healthcare Data Interoperability standards implementation, EHR & EMR integration along with cloud based enterprise software development & integration.